Start by using RM-1 and RM-2 to unlock the core construction strategies, then rush Intellica and use her to open the river, archive, and rock setups that complete max efficiency. For RM-1 through RM-4, keep farming enough to unlock the next layout, then return with better operators and the right tiles to finish each stage’s efficiency bar.
How Rebuilding a Mandate max efficiency works

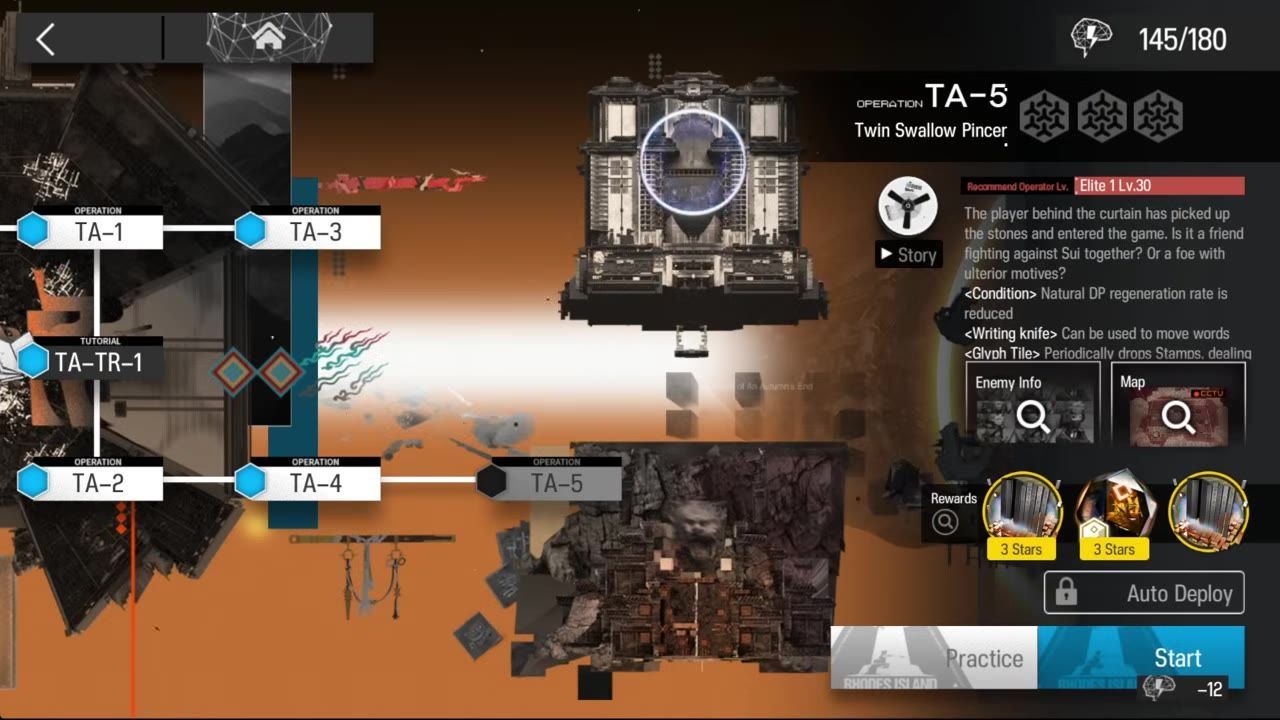
The stage selection screen shows Wildland Outpost, MAX efficiency, and deployed facilities on the map. — KyoStinV
Max efficiency raises your passive AFK income for each stage, meaning you accumulate resources even while offline. You gain efficiency by killing enemies and deploying facilities; the loop is to unlock better facilities, then return later with stronger units and improved layouts to complete a stage’s bar. It is not necessary to max efficiency in one attempt; revisit with upgraded squads and strategies.
Construction strategies to unlock first

The construction strategy menu shows Terraforming selected with the Ruins unlock description on the right. — KyoStinV
steps
- Clear the tutorial to unlock basic facilities and receive the first mission reward currency.
- Unlock the first construction strategy and the Ruins to begin recruiting operators and accessing ranged tiles.
- Spend your early recruit to expand the opening squad with better operators (AOE, medic, defender).
- Push the construction strategies node that enables direct appointment of Intellica; this is the most important early unlock, as she is the centerpiece for max efficiency setups.
RM-1 and RM-2: get enough points first
When to farm vs. aim for max efficiency
- Use a basic squad (defender, healer, AoE unit) to farm resources and unlock more strategies in RM-1 and RM-2.
- Do not chase max efficiency until Intellica is unlocked; getting enough points to proceed is the priority.
- Stop your run once you have the progress you need, and return later with upgraded operators. Early stage clears are about unlocking options, not completing the full efficiency bar right away.
Intellica comes first

The construction strategy tree is open with a selected strategy panel displayed on the right. — KyoStinV
prerequisites
- Unlock Intellica by selecting the construction strategy node that allows direct appointment.
- Level up Intellica as far as possible; she becomes your main operator for the event.
- Use support Intellica if you do not own her; support units can be fielded at max strength even if your account does not have her directly.
RM-3 and RM-4 construction strategies
steps
- After Intellica is online, prioritize unlocking the river facility—it boosts drop rates and enables easier max farming.
- Unlock rock and woods as subsequent facilities; continue farming until river and archive progression are available.
- RM-4’s mission progress rewards supply enough resources to finish unlocks and move into the final efficiency setups for the stage.
River, archive, and rock setup

A paused tactical map shows devices and units placed across tiles around the river and rocky terrain. — KyoStinV
comparison
River
- Opens multiple chip types (Sniper, Specialist, Guard, Vanguard) and should be placed on side tiles, not spammed everywhere.
Archive
- Adds the remaining chip types for pooling chips; enables the full loop needed for max efficiency.
Rock
- Used to generate Defender and Medic tokens. Avoid placing rocks in a three-by-three grid, as it causes the flying rock spawn which complicates deployments.
Farmland and boss timing

A combat map with beige farmland-like tiles, enemies, and the deployment interface is on screen. — KyoStinV
RM-1 to RM-4 max efficiency setup
RM-1, RM-2, RM-3, and RM-4 are the stages covered here, each brought to max efficiency. The final loop in each is Intellica supported by correctly placed side tiles: river, archive, rock, and farmland as required. Once the efficiency bars in each stage are full, you can allow passive AFK income to accumulate and avoid grinding for further manual clears.
Also worth knowing
No additional points supplied for this guide.
FAQ
How do you unlock Intellica in Rebuilding a Mandate?
You unlock Intellica by progressing through the construction strategies tree to the node allowing direct appointment; completing early missions and farming points will enable you to unlock her.
What should you prioritize first to get enough points in RM-1 and RM-2?
Focus on clearing the tutorial, recruiting operators, and farming enough progress (not max efficiency) to unlock the next construction strategies, particularly those leading to Intellica.
Which stages does this guide actually bring to max efficiency?
This guide brings RM-1, RM-2, RM-3, and RM-4 stages to max efficiency once Intellica and the facility unlock path (river, archive, rock, farmland) are complete.
What tiles or devices do you use for the river, archive, and rock setup?
Use river tiles for chip diversity, archive for remaining chip types, and rocks for defender and medic tokens; avoid three-by-three rock formations to prevent problematic flying rock spawns.
When should you stop a run and come back later for better AFK income?
You should stop a run once you’ve reached the progress required to unlock the next strategy or facility, and revisit later with upgraded operators and improved AFK income to complete the efficiency bar.
Sources
Screenshots on this page are frames from the videos below, used to illustrate the steps they describe. All rights remain with their creators.
- Max Efficiency RM-1 to RM-4 | Rebuilding a Mandate Guide |【Arknights - アークナイツ】 — KyoStinV, March 7, 2026