This formation lets you attempt a full clear of Horde Invasion without Tier 4 units, by centering your build on Lion and Bat, then upgrading with Mantis to handle the worm and boost area damage. Success rates depend strongly on boss spawn locations, team execution, and RNG, so a full clear is possible but not guaranteed.
Start With the Core Formation
steps
- Build around Lion and Bat: These are the main units for stable control and DPS, as proven by multiple free-to-play runs without T4.
- Add Mantis as an upgrade: Mantis is slotted in for worm counterplay and extra AoE. This makes the formation a stronger version than previous Lion–Bat-only setups.
- Damage roles: Bat focuses on spreading damage, Lion controls lanes with roar and pushback rather than raw DPS, and Mantis applies fragile and area hits, especially versus the worm.
Mantis

A unit placement grid is shown with the worm spawn line near the top and Mantis among the front-lane units. — Artiar
Mantis is added to counter the worm, as its T3 fragile works without needing Tatari. At higher levels, Mantis gains blades from healing and a strong level 7 area hit that can reach the boss line after the wave 12 worm pull. This makes it the best upgrade for the formation and solves the main issue lower-investment teams face.
Lion

A tower defense battle is shown next to text explaining how to handle a Shocker spawn and keep Lion in position. — Artiar
Bat

A spread-friendly formation is shown on the battlefield with the front line opened up. — Artiar
Bat is one of the top contributors to overall clear damage. The formation is arranged to allow Bat room to spread its DPS across the field, and Bat is prioritized alongside Mantis and Lion for leveling and positioning.
Tatari progression

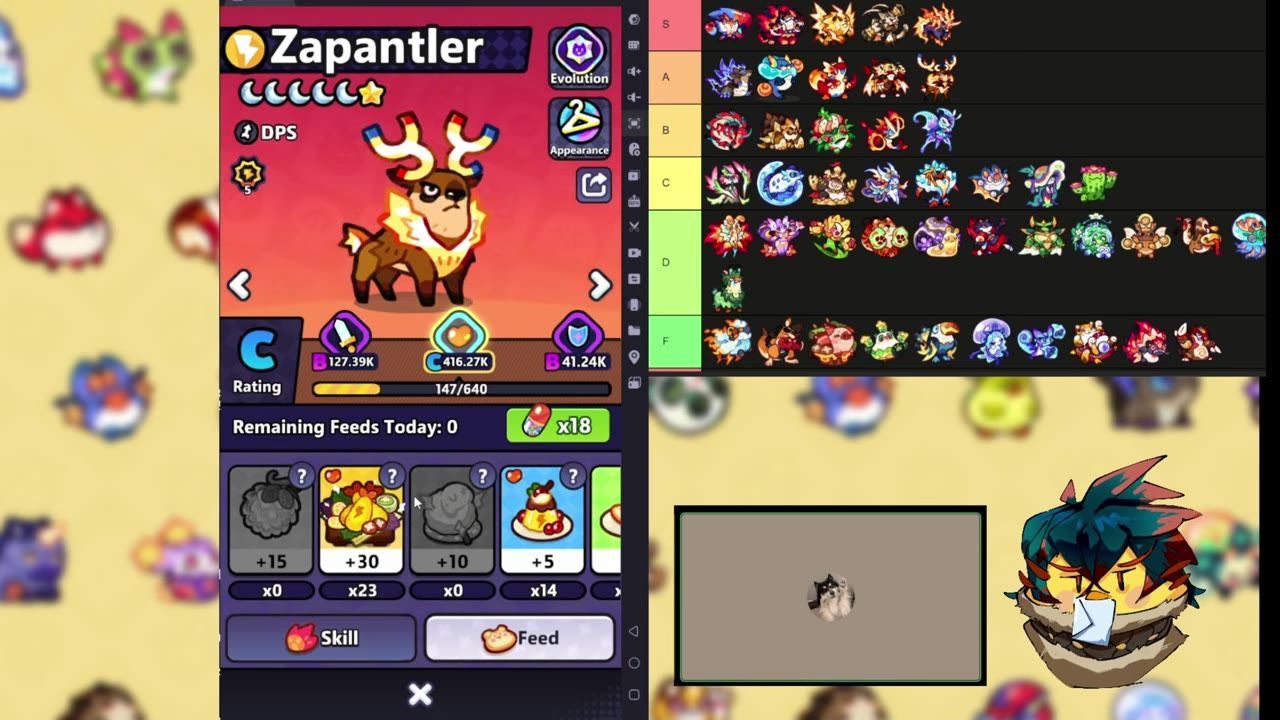
A unit list grid with ranked character cards is visible on the game screen. — Artiar
prerequisites
- Lion and Mantis: Highest priority for leveling.
- Butterfly: Keep at level 1 (or level 3) to conserve candy for Tatari revives, not upgrades.
- Support picks: Recommended are Seal for weak debuff, Pig for healing/stun, Beetle for CC, Owl for healing/slows, and Deer if you already have it invested.
- Unit rank: Formation can clear with mostly C and D ranks, T3 Lion and T3 Mantis are noted as especially helpful.
Wave 12 worm pull

A crowded battle formation is pulled back with a green dashed arrow on the left, and worm pull trick instructions are shown on the right. — Artiar
steps
- With about 10 seconds left on wave 12, start moving the front line back while pushing the second row forward. This sets up the worm TP.
- Break Butterfly's sleep window before the worm arrives. If Butterfly is left sleeping, you risk missing the TP and losing your front-line position.
- After TP, push formation forward as much as possible. This lets Mantis, Lion, and Bat all reach into the boss line and maximize output.
wave 33 Shocker spawn
steps
- If Shocker spawns in lanes 2–5: Keep formation, use Lion to push Shocker back, and maintain pressure.
- If Shocker spawns on lane 1 or 6: Move the entire formation back one row, swap Lion into position with Ash Lava, and let Lion handle pushback.
- Goal: Keep Shocker from reaching Tatari lake to prevent its AoE, and adjust Lion placement to maintain control.
Endgame adjustments and what can still go wrong
The setup can require opening a lane late and letting a boss walk in to die, especially if that lane has few enemies left. If the team is short on revives or currency, Butterfly should stay low so candy can go toward unit revival, not upgrades. However, this build is not guaranteed to full clear every run: boss spawn patterns, RNG, and teammate execution matter, and the results shown are tested examples, not fixed outcomes.
FAQ
How do you do the wave 12 worm TP in Horde Invasion?
At around 10 seconds before the worm, pull your front line back and push your second row forward, break Butterfly's sleep, and position everyone as far forward as possible after the TP.
What do you do when the Shocker Zobo spawns on lane 1 or 6?
Move the formation back one row and swap Lion into position with Ash Lava so Lion can push Shocker Zobo away and prevent its AoE from reaching the Tatari lake.
Which Tatari are recommended for this no T4 formation?
Recommended supports are Seal (weak debuff), Pig (healing and stun), Beetle (crowd control), Owl (healing and slows), and Deer if already invested, with Lion, Mantis, Bat, and Cheer as main priority units.
What level priority does this formation use?
The primary level priorities are Lion and Mantis, followed by Bat and Cheer, while Butterfly is kept low to preserve candy for revives.
Is a full clear guaranteed with this setup?
No, a full clear is not guaranteed; boss spawn patterns, RNG, and teammate execution all affect the result.
Sources
Screenshots on this page are frames from the videos below, used to illustrate the steps they describe. All rights remain with their creators.
- No T4?! FULL CLEAR 1015 Kills?! Community Going Wild In Horde Invasion | Clash Of Critters — Artiar, August 13, 2026